
Coding Compendium
A free 100-page ebook collecting my projects and tutorials for Raspberry Pi, micro:bit, Scratch and Python. Simply join my newsletter to download it.
Sean McManus explains how to use sprites in your Amstrad Basic programs using the free sprite tools on the disc you can download from this site, including an Amstrad Sprite Designer/Definer, and Easi-Sprite Driver (ESD).
A sprite driver is a lean, mean, graphic machine. Graphics in Basic are on the moped side: okay for getting about but a bit slow and clumsy. Even using UDGs, it begins to get a little bit sluggish when you try to have several moving individuals on screen at the same time.
A sprite is a multi-coloured character drawn on a rectangular grid. It's a bit like a UDG except you can have any colour in each box on the grid and that you can define the size of the grid yourself. To use sprites you need machine code, but it's surprising how little machine code you can get away with...
In this chapter, I'll show you how to use sprites in your Amstrad Basic programs, and give you the machine code routines you need. I'll also introduce you to my Sprite Definer program, which you can use to design your sprites and manage banks of them. Several of my type-ins for Amstrad Action and Amstrad Computer User were created using this software, and a variant of the machine code routines.
The sprite definer and driver software from this site appeared on Amstrad Action tape 15 on the June 1992 issue, shown below.
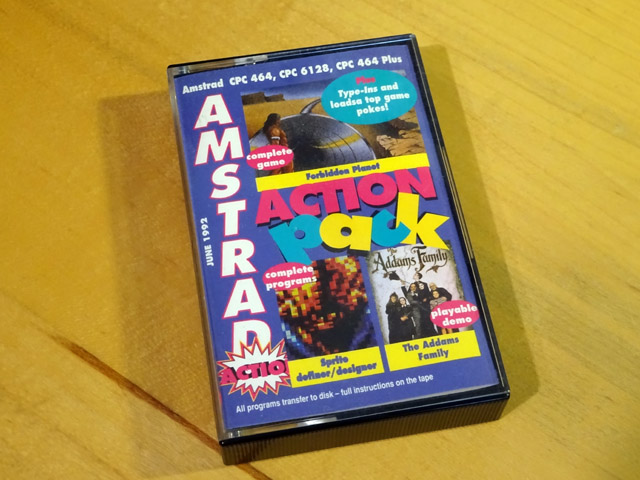
The first program on the disc is a Sprite Definer. This was first released on the Amstrad Action cover tape in June 1992, but has been updated for the Basic Idea to support the CPC464. It's a simple art package for making Amstrad CPC sprites. This program not only enables you to define individual sprites, but will automatically manage the memory they occupy.
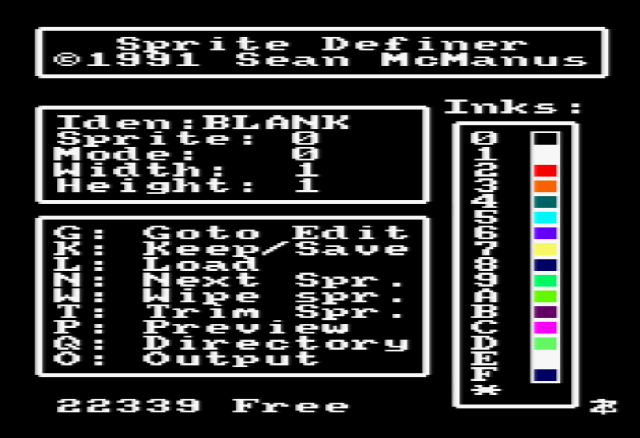
Screenshot of Sprite Definer
Here's a run down of the options available from the main menu:
| N | Setup the next NEW sprite. You will be prompted for its dimensions and its name. The name should be 6 characters using letters and spaces only. The dimensions are in pixels. It's a good idea to keep it small - 8x16 is a nice size and 64 x 64 is about the largest normally sensible. |
| K | KEEP. You can save the current sprite, all the sprites in memory (the sprite bank) or the current ink pallette. The filename must be 8 characters using A-Z, 0-9 and spaces at the end only. |
| L | LOAD anything saved using KEEP. |
| Q | A directory of all the files on the current disc, classified according to what type of file they are. |
| W | Will WIPE (i.e. blank out all the pixels in) the current sprite. |
| T | Will TRIM the current sprite to its minimum size by cutting away blank rows from the bottom and columns from the right. (The top and left are needed as pixel offsets from a text co-ordinate in ESD). This is not reversible. If you don't know how big your sprite will be, estimate large and TRIM it later. Always trim before beginning the next sprite, otherwise blank space will remain between the sprites in memory. |
| S | Enter a sprite number of a previously defined sprite so you can return to it for editing. |
| I | Enter a sprite IDENTITY, i.e. its name, to go back to it. |
| P | PREVIEW current sprite without magnification. Also tells you the sprite's address in memory. |
| M | Change screen MODE. Don't transfer sprites between modes. Some of the sprite will be lost, so use caution to ensure sprite is not edited in the wrong mode. |
| O | Output a list of all the sprite numbers, names, addresses and dimensions in Bytes. |
| 0-9,A-F | Change the inks assigned to the pens. The inks are cycled in a continuous loop. |
| * | sets a pen to flash between two inks. |
| G | enter the edit mode, where the sprite is magnified for editing. |
When you are editing your sprite, the actual size sprite appears at the right top corner of the screen. When you start a new sprite, each corner is set to white to help you see its boundaries. You can move your crosshair cursor using the cursor keys and can plot a point by pressing the pen number desired (0-9, A-F for 10-15). There is a mirror option to avoid the need to define different sprites for "Man running left" and "Man running right" (for example). Pressing X will reflect the sprite horizontally and pressing Y reflects vertically. Press M to return to the main menu. You can come back to edit again by choosing this sprite with S or I and then pressing G to GOTO edit.
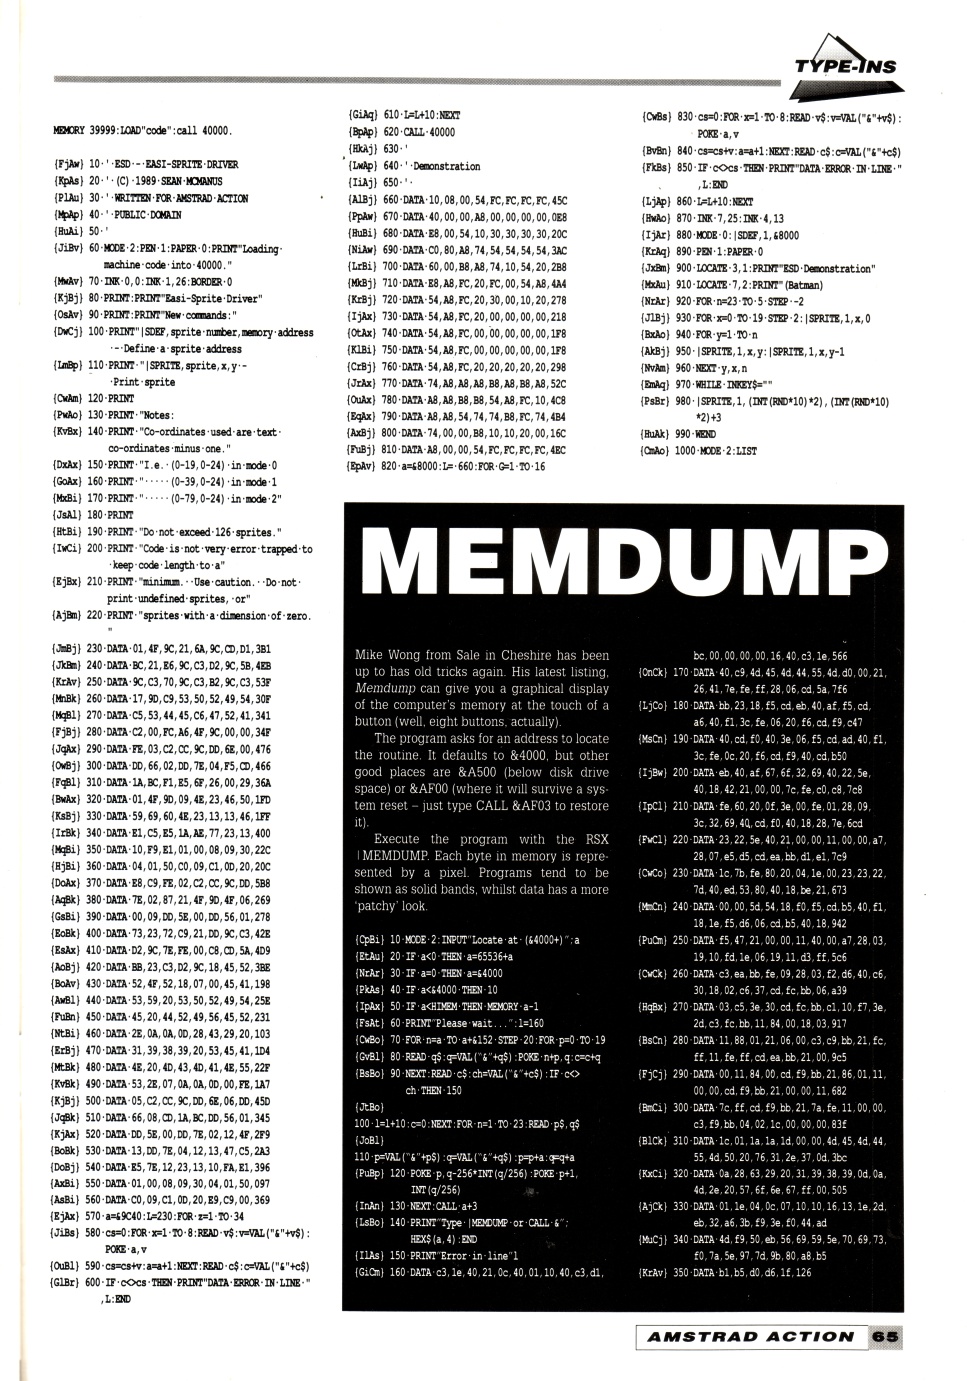
The disc contains two programs to enable you to use your sprites in Basic. The first of these is Easi-Sprite Driver (ESD). It's easier to use and was originally published as a type-in in Amstrad Action magazine (April 1990). Here's what the listing looked like, but luckily you don't have to type it in today. Simply download my disc.

To load your sprite bank into ESD, first run ESD as usual and then issue the following Basic command:
MEMORY &44ff : LOAD"filename.ADD",&9d4f : LOAD"filename.BNK",&4500
ESD is limited to using text co-ordinates and refers to sprites by reference numbers. These numbers are the same numbers that are used in the Sprite Definer. Three new commands are defined:
|GRAB,x,y,width,height,address

|SDEF,sprite,address
It is possible to grab sprites from the screen in Basic and set these up without the sprite definer.
The first command lifts a sprite from the screen at co-ordinates x,y into the memory address specified.
Co-ordinates in ESD are text co-ordinates minus one, i.e.
0-19 for x in mode 0, 0-39 in mode 1 and 0-24 for y in all modes.
The height is in pixels, but the width is in bytes.
In mode 0 you get two pixels to the byte, in mode 1 you get four and in mode 2 you get eight.
The second command sets up a sprite number for the address you've GRABbed into.
If you use the sprite definer, you will not need to use these commands.
|SPRITE,s,x,y
This command will print your sprite number s at the co-ordinates x,y.
The sprites are XORed.
This means that to delete them, leaving the background intact, you just print the same sprite in the same place again.
Sometimes things will look unusual when a sprite passes over something.
You could try playing with the inks assigned to the pens which light up anew if this concerns you.
ESD has been fairly popular in the Amstrad community but has a few limitations. The first of these is the fact that it only uses text co-ordinates. While these are good for disciplining and simplifying most games, there comes a stage when it gets claustrophobic. Secondly, the machine code is not relocatable, so you're stuck with working around where it lives. Thirdly, XORed sprites are sometimes not what you want.
ESD Advanced (on the disc) has been written for The Basic Idea to create a more flexible way of implementing sprites, although it is also more complicated. Firstly, it doesn't deal with sprite banks nor sprite numbers, but with individual sprite addresses. You can still use the sprite definer to compile a bank of sprites, but will need to use the output option to find the memory address for each sprite. Users with a printer can print this data out.
Secondly, it offers a higher resolution for the co-ordinates used ("Fine sprite routine" is a technical description, not an opinion). In all modes, the y co-ordinates run from 0-199, with zero being at the bottom of the screen. In Mode 2, the x co-ordinates run from 0-640 with zero being at the left. In mode 1, the x co-ordinates run from 0-320 and in mode 0 they run from 0-160.
In addition to this, you have a choice of three different ways of displaying your sprite:
![]()
From left to right, the force, overlay and XOR modes in action
The routines are completely relocatable and you don't even need the relocator program to move them. You can just change the numbers in the for-next commands that poke them into memory and change the address you use when calling them. Here's a run down of how to use the routines as they are set up as default.
CALL 40000,address,x,y - will force the sprite stored at address onto the screen at co-ordinates x,y.
CALL 40053,address,x,y - will overlay the sprite at address onto screen at x,y.
CALL 40110,address,x,y - will XOR the sprite onto the screen.
CALL 40164,address,x,y,width,height - This is a grab routine.
It will allow you to grab from the screen into memory.
More importantly, it allows you to store the background when you want to overlay a sprite and replace the background afterwards.
The demonstration's falling frog does this.
The amount of memory a sprite (or a background chunk) occupies is width in bytes times height in bytes(=pixels) plus two.
The demonstration uses all these routines and uses sprites created using the sprite definer. If you are not familiar with sprites, the best way to get into sprites is probably through ESD's structured framework. Although ESD Advanced is more challenging to use, it offers a more flexible framework. Most of the games on the disc were based on routines similar to ESD Advanced.
Drawing with big chunks takes a bit of getting used to, but after a while you'll get the sprite idea.
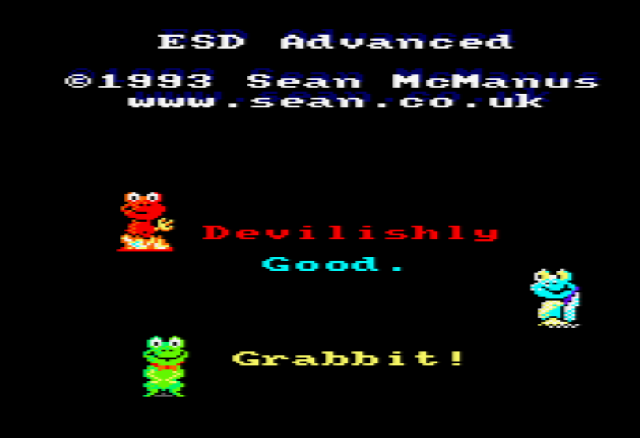
Screenshot of the demo for ESD Advanced. These angel and devil frogs were created for an adventure game I didn't have time to finish. The idea was you'd have good and bad angels guiding you, after you'd been turned into a frog by a wizard. I don't remember much about it now, except that one of the characters was a floating door that told Knock Knock jokes. The game got as far as basic screen layouts. The green frog is from Gribbet (AA 3/91).
You can download my updated disc of Amstrad CPC games to find the Sprite Definer, machine code routines you can incorporate in your BASIC programs to display sprites, and games including Alien Intervention, The Further Adventures of Fred, and Wallbuster, which were created using the Sprite Definer.

Screenshot of The Further Adventures of Fred. Find it on the disc.
Now, let's go to the final game "Misfit"
Find all my Amstrad CPC tutorials here, and download my updated software disc here!
© Sean McManus. All rights reserved.
Visit www.sean.co.uk for free chapters from Sean's coding books (including Mission Python, Scratch Programming in Easy Steps and Coder Academy) and more!
A free 100-page ebook collecting my projects and tutorials for Raspberry Pi, micro:bit, Scratch and Python. Simply join my newsletter to download it.
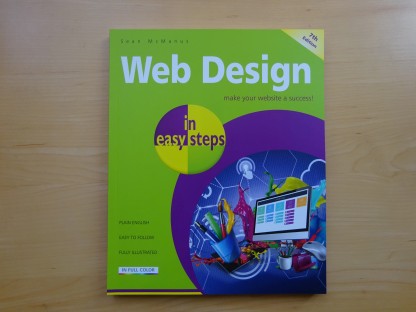
Web Design in Easy Steps, now in its 7th Edition, shows you how to make effective websites that work on any device.

Power up your Microsoft Excel skills with this powerful pocket-sized book of tips that will save you time and help you learn more from your spreadsheets.
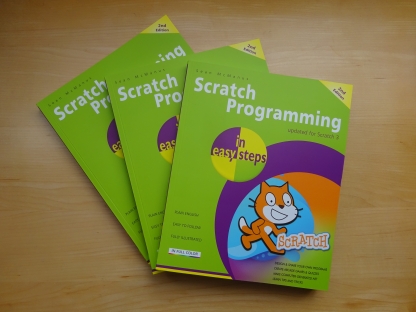
This book, now fully updated for Scratch 3, will take you from the basics of the Scratch language into the depths of its more advanced features. A great way to start programming.
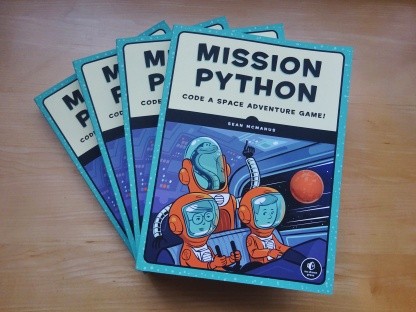
Code a space adventure game in this Python programming book published by No Starch Press.
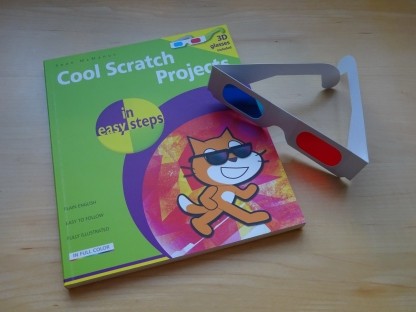
Discover how to make 3D games, create mazes, build a drum machine, make a game with cartoon animals and more!
![]() Top | Search | Help | Privacy | Access Keys | Contact me
Top | Search | Help | Privacy | Access Keys | Contact me
Home |
Newsletter |
Blog |
Copywriting Services |
Books |
Free book chapters |
Articles |
Music |
Photos |
Games |
Shop |
About